There are a few things that go into making an exhibition solution a success: such as a stylish, professional design, a functional, high impact presence, the ability to transport your display easily and an investment that will last you years. The beauty of roller banners is that they are all of those things mentioned above, as well as being effortless to put up.
Here is our quick guide on How To Assemble a Roller Banner
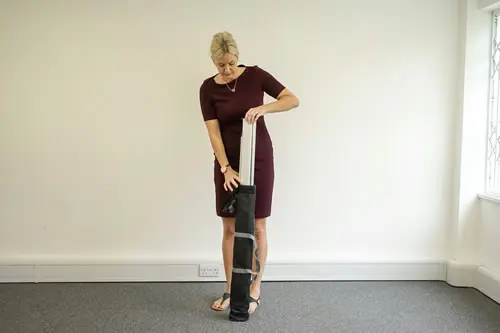
Unzip the top of the carry bag and remove the banner.
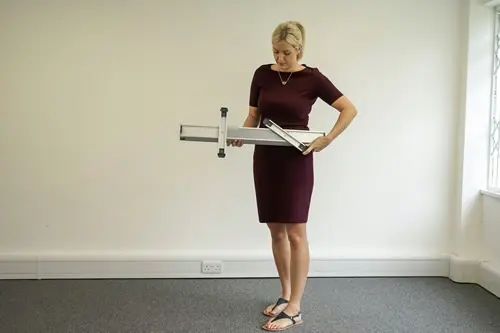
Twist out the stabilising feet (if necessary).
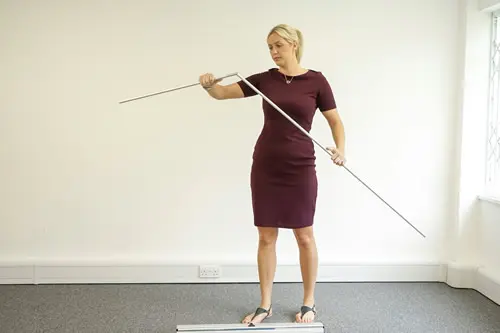
Slot the sections of the support pole together.
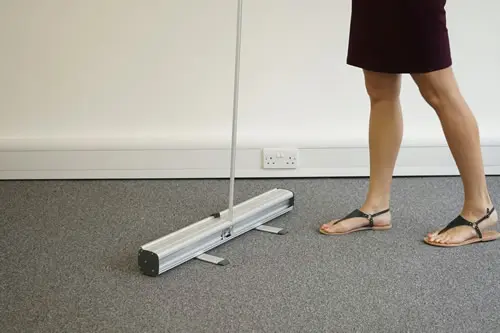
Insert the support pole into the hole on the back of the base.
Using the header rail, extend the graphic upwards from the base, ensuring you are stood behind the banner with the printed graphic facing away from you.
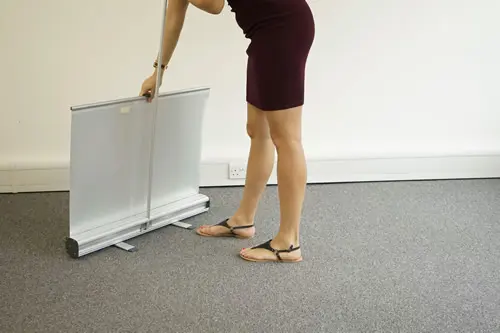
As you continue to extend the graphic, make sure you tilt the banner back towards you in order to hook the top of the graphic on to the top of the support pole.
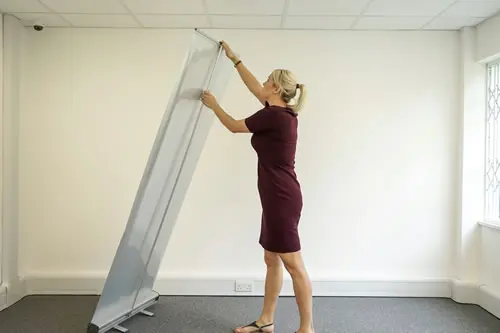
Set the banner down and carefully lift it into position using the middle of the support pole to carry it.